


Quick Answer
The Stalker Brown Oak Balaclava performed well in the first field test uncrafted — but it wasn't perfect. In this video Jeff adds the Le Covert Halo Screen Laser Cut Kit TROPIC to the front of the balaclava, focusing coverage around the face and eye opening. 30 minutes, zip ties, and the vegetation factor increases significantly.
The Most Recognizable Shape On The Planet
The human face is the most recognizable shape on the planet. It can give you away in a heartbeat.
You can spend hours crafting the perfect ghillie suit — top, pants, boots, gloves — and the moment someone sees your face peeking out from the bush, the build is over. In the Ghillie vs Drone series the face gave away position almost instantly. The shoes got most of the attention, but the face was right behind them.
The first field test sent Nick out with the Brown Oak Balaclava uncrafted. It held up — the material and built-in leaves did their job — but it wasn't quite perfect. This video takes it from good to invisible.

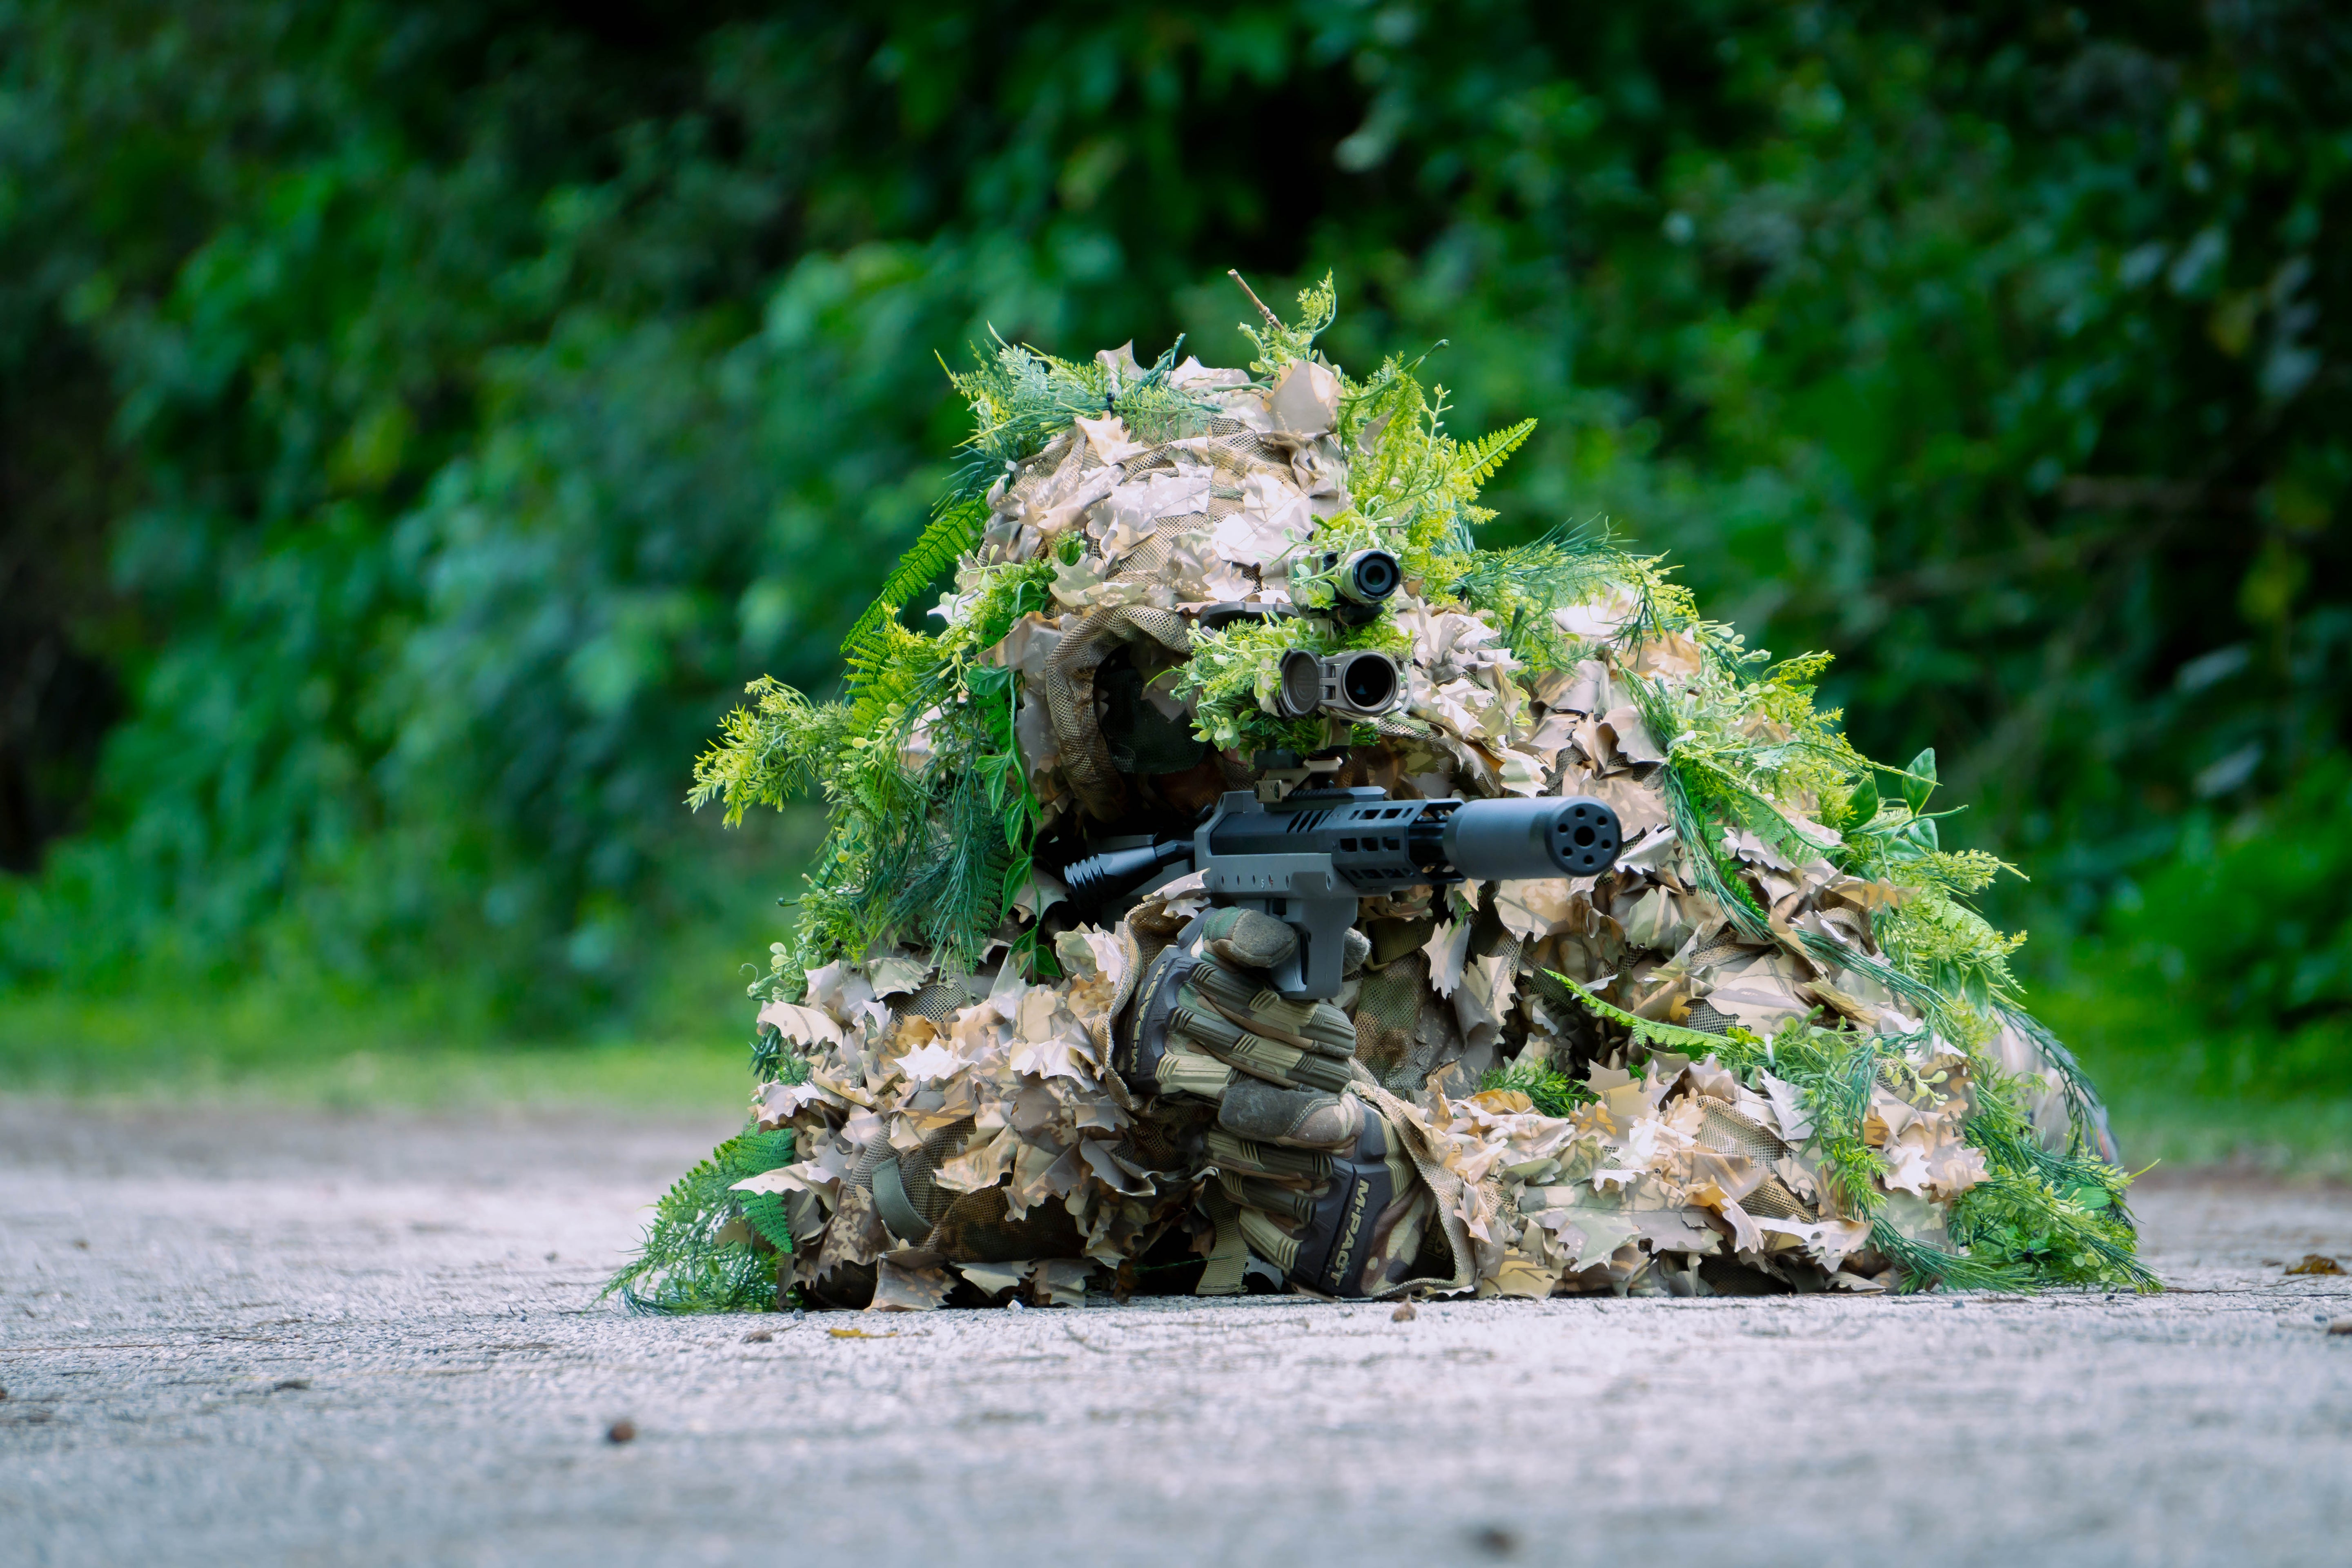
Above is screenshot from Ghillie vs Drone V2
Why TROPIC On The Brown Oak Balaclava
The Brown Oak Balaclava has a brown base — the same warm earth tones as the rest of the Brown Oak lineup. At ground level and in dense vegetation, the surroundings include a significant amount of green low plants, shrubs, and grass.
The Le Covert Halo Screen Laser Cut Kit TROPIC adds consistent lush green modules that match that low vegetation — the same reasoning used on the gaiters. Brown Oak base handles the earth tones, TROPIC handles the green vegetation layer on top.
Using the standard four-shade kit would introduce too many variables at the face level. TROPIC's consistent single tone keeps the coverage clean and unified.
How The Brown Oak Balaclava Is Built For Crafting
Like all Stalker concealment products, the Brown Oak Balaclava comes with crafting mesh and crafting loops throughout. Attaching Le Covert modules is exactly the same process as the suit, pants, and gaiters — thread through the holes to create the leaf shape, secure with a crafting loop, snip the zip tie tail.

How Jeff Crafted The Balaclava
Set up for easy access
Jeff set the balaclava up on a stand so he could walk around it and attach modules from all angles without having to hold it in place. Same approach as the pants — setup saves time during the build.
Focus on the face and eye opening
The front of the balaclava is the priority. The face outline and eye opening are the two areas that register as human instantly at distance. Jeff focused the first 30 minutes entirely on the front — layering TROPIC modules around the face opening and across the forehead area.
Thread through, loop, snip
Each module is threaded through the mesh holes to create a leaf-shaped profile, secured to a crafting loop, and the zip tie tail is snipped flush. Clean, consistent, no tails sticking out near the face.
Skip the back and bottom
Jeff deliberately left the back and lower portion of the balaclava with lighter coverage. The reason: this build is designed to be worn with a hooded suit — Alder Leaf Suit, Viper Hood, or Combat Cape. The hood covers the back and bottom of the balaclava completely, so crafting those areas heavily would add unnecessary bulk with no visibility benefit.
Important note for different loadouts
If you're running the balaclava without a hood — with a boonie hat or standalone — Jeff recommends full coverage on all sides. The back and bottom need to be treated the same as the front in that configuration since nothing else is covering them.
The Result
30 minutes of crafting around the face and eye opening area. The vegetation factor of the balaclava increased significantly. Combined with the crafted Alder top, Brown Oak pants, gaiters, and gloves — the full build is now completely crafted from head to boot.
The next step is taking the fully crafted build back into the field for a second test to see how the improvements perform compared to the first round.

The Full Build — Everything Crafted
| Item | Status | Link |
|---|---|---|
| Stalker Alder Leaf Suit Top | Crafted — Le Covert Halo Screen Laser Cut Kit | Shop here |
| Stalker Brown Oak Combat Pants | Crafted — Dark Treeline modules + Oak Master Garlands | Shop here |
| Stalker Brown Oak Gaiters | Crafted — Le Covert Halo Screen Laser Cut TROPIC | Shop here |
| Alder Crafted Gloves | Pre-crafted out of the box | Shop here |
| Stalker Brown Oak Balaclava | Crafted — Le Covert Halo Screen Laser Cut TROPIC | Shop here |
| Le Covert Halo Screen Laser Cut Kit TROPIC | Used on gaiters and balaclava | Shop here |
| Le Covert Oak Master 3D Garlands | Used on Brown Oak pants | Shop here |
| Full Le Covert Collection | Shop here | |
| Full Stalker Collection | Shop here |
Free shipping on US orders over $200.
FAQ
Why focus coverage on the front of the balaclava only?
This build is designed to be worn with a hooded suit. The hood covers the back and bottom of the balaclava completely — crafting those areas adds bulk with no benefit. If you're wearing the balaclava without a hood, craft all sides.
Why TROPIC instead of the standard four-shade kit?
At face level in dense vegetation, consistent lush green is the dominant surrounding color. TROPIC's single consistent tone keeps the coverage clean. The standard kit's variety of shades works better on larger surface areas like the suit top.
How long does it take to craft the balaclava?
About 30 minutes for the front face and eye opening area — the priority zone. Full coverage on all sides would take longer.
Do I need to snip the zip tie tails on the balaclava?
Yes — especially on the balaclava. Tails near the face are uncomfortable and visible at close range. Snip everything flush.
What's different about crafting the balaclava vs the suit or pants?
The main difference is intentionality — you're not trying to cover every square inch. You're focused on the areas that read as human first: face outline, forehead, eye opening. Everything else is secondary depending on your loadout.
Watch The Full Video
Stalker Brown Oak Balaclava Crafting Tutorial | Le Covert Halo Screen Laser Cut TROPIC
Share: